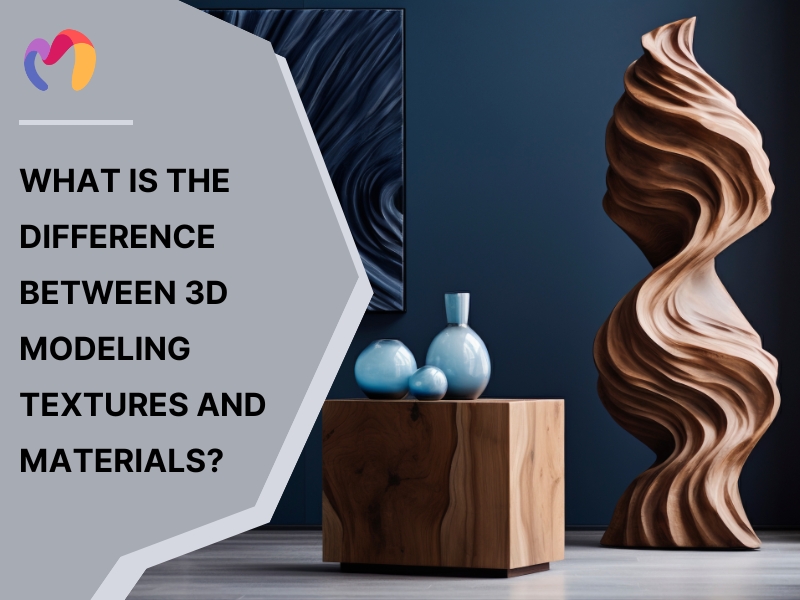
What is the Difference Between 3D Modeling Textures and Materials?
Update: 29/10/2025
Design professionals gain a clear understanding of 3D modeling textures and materials by recognizing their distinct roles. In 3D modeling, textures are essentially 2D images or patterns applied to the surface of a 3D model to add visual details, colors and surface characteristics, while materials define the visual properties of an object, determining how it looks and interacts with light when rendered. Distinguishing between textures and materials allows interior, exterior and architectural designers to create models that are realistic, visually engaging and accurately lit. This article explains their differences and practical applications, helping readers enhance 3D visualization skills and achieve more convincing, professional results.
1. What are Textures in 3D Modeling?
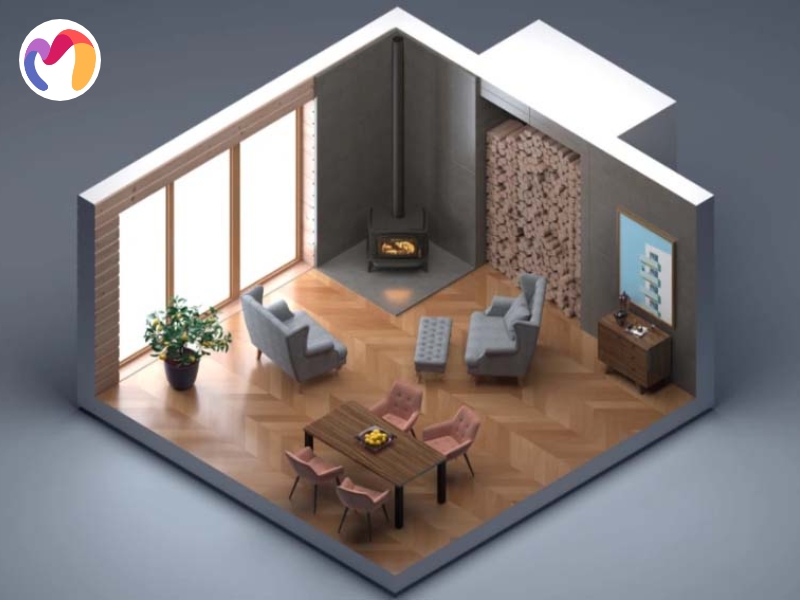
Textures in 3D modeling are digital images or patterns applied to the surface of a 3D object to give it color, detail and a sense of materiality. They simulate how a surface looks and feels by adding patterns, roughness, gloss or depth and they can range from simple repeating designs to unique images tailored for a specific model. By applying textures, designers can make 3D objects appear more lifelike and immersive, enhancing both interior and exterior visualizations for architecture projects.
The four main types of textures offer distinct effects and play essential roles in achieving realism, as outlined below:
- Diffuse Textures: Provide the base color and pattern, giving surfaces visual interest and accurately representing materials like wood, fabric or stone.
- Normal Maps: Simulate bumps and surface details without changing geometry, adding depth and realistic light interaction for enhanced texture.
- Specular Maps: Control shine and reflections, emphasizing contours and differentiating glossy or matte areas for more realistic surfaces.
- Ambient Occlusion Maps: Add subtle shadows in crevices and corners, increasing depth and making models appear more three-dimensional and grounded.

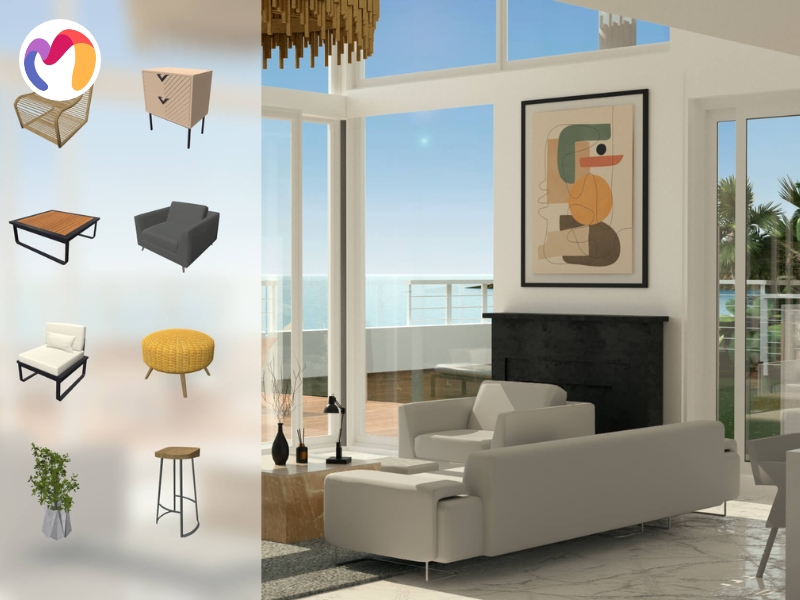
2. What are Materials in 3D Modeling?
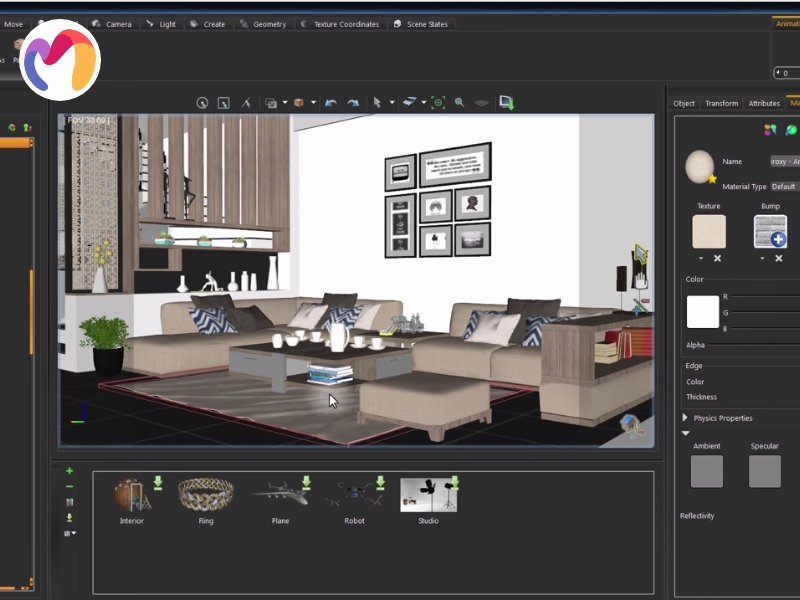
Materials in 3D modeling are sets of properties that define how surfaces look and respond to light, making them the visual and physical behavior of 3D objects. They determine attributes such as color, transparency, reflectivity, roughness and opacity and they serve as containers for textures and parameters that shape surface details and optical effects.
Designers use materials to combine multiple textures, controlling gloss, depth and metallic sheen, which allows replication of surfaces from coarse concrete to polished metal. By applying the right materials, 3D models achieve realistic lighting, lifelike textures and visually convincing results for interior, exterior and architectural visualizations.
| Your next masterpiece starts here. Explore our free 3D models today! | |||
 |
 |
 |
 |
| Flower 3d model | Grass 3d model | Bush 3d model | Bouquet 3d model |
3. What is the Difference Between 3D Modeling Textures and Materials?
Surface representation techniques serve distinct functions in architectural visualization, yet professional designers often confuse their specific applications. While textures and materials are both fundamental for making 3D models visually realistic, they serve distinct roles and are not interchangeable in professional rendering workflows.
| Aspect | Textures | Materials |
| What it is | 2D images or patterns (e.g., JPEG, PNG) mapped onto a 3D surface | A collection of properties (and often shaders) defining how a surface interacts with light |
| Function | Adds surface detail: color, patterns, bumps, scratches, etc. | Controls physical and optical properties: color, glossiness, reflectivity, transparency, etc. |
| Example | Wood grain image, brick wall photo, bump map for roughness | Glass (transparent, refractive), metal (reflective, shiny), plastic (matte, colored) |
Materials and textures work together to create realistic 3D objects and scenes:
- Materials act as containers that define the overall appearance of a 3D object, including how it responds to lighting and environmental effects. They set base properties like color, reflectivity and transparency, forming the foundation for realism.
- Textures are applied to materials to add fine surface details. They enhance specific material attributes, such as providing color maps, controlling roughness or simulating bumps and scratches, making objects visually richer and more lifelike.
For example, to create a realistic brick wall, a material is set to be matte and non-reflective, while a texture applies a brick pattern and a bump map to simulate roughness. In summary, a texture alone cannot function without a material, because materials determine how light interacts with the surface and displays the texture correctly.
4. How are 3D Modeling Textures and Materials Used?
Professional 3D visualization workflows integrate surface representation techniques through a systematic four-step methodology that transforms basic geometric forms into photorealistic architectural presentations. Model development begins with geometric foundation establishment, progresses through material property assignment, advances to texture mapping application and concludes with rendering calculation processes.
Step 1: Model Creation
Geometric construction establishes the foundational framework for all subsequent visual enhancement procedures. Artists define structural parameters, dimensional relationships and surface topology using specialized modeling applications. Shape definition, volumetric properties and geometric accuracy create the base platform for material and texture integration.
Step 2: Material Assignment
Surface property specification follows geometric completion, establishing fundamental optical characteristics that govern light interaction behavior. Material systems define color values, reflectivity coefficients, transparency levels and surface finish qualities. Object surfaces may appear uniform or simplified during this phase, requiring texture application for realistic detail representation.
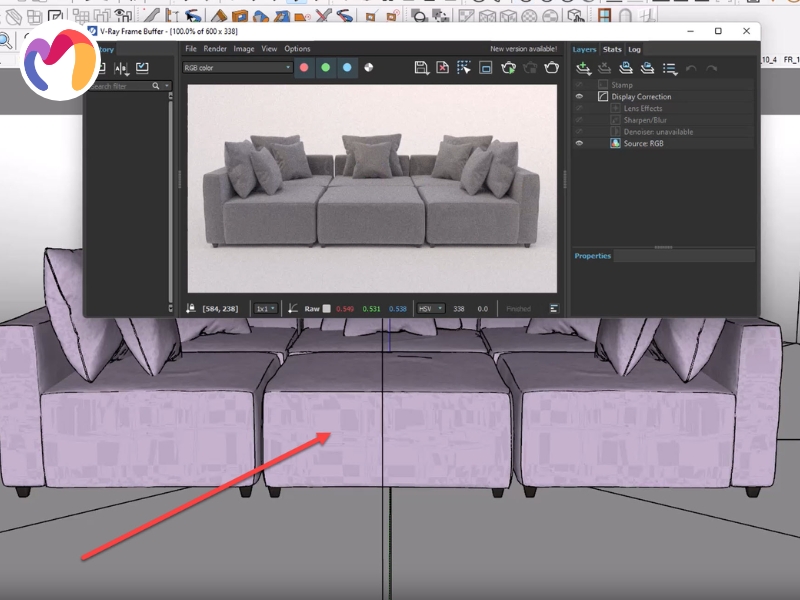
Step 3: Texture Mapping
Image application procedures enhance material properties through detailed surface representation techniques. Two-dimensional pattern files provide color information, surface irregularities and tactile characteristics that simulate real-world material behavior. UV mapping coordinates align texture placement with geometric surfaces, while multiple map types, including normal, roughness and displacement data, create comprehensive surface definition.

Step 4: Rendering
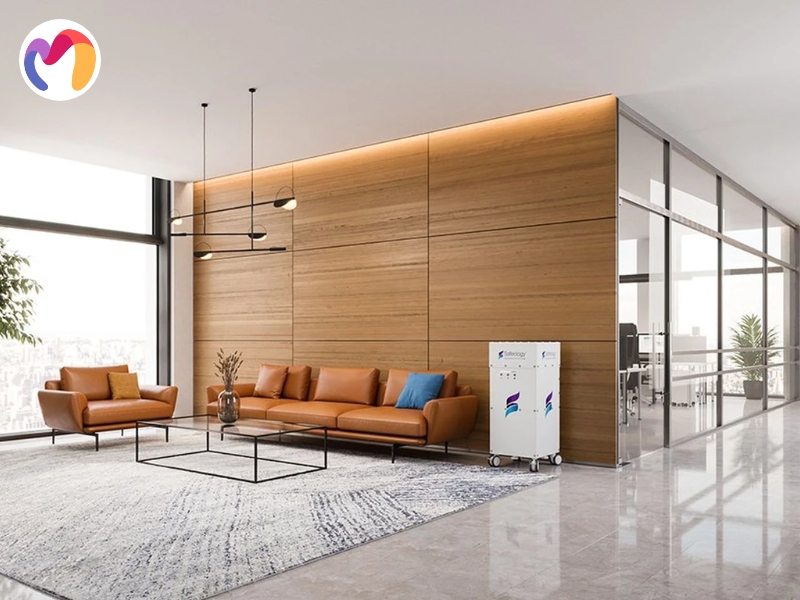
Calculation engines process combined geometric, material and texture data under specified lighting conditions to generate final visualization outputs. Light interaction simulations produce photorealistic results suitable for architectural presentations, design documentation and client communication materials.
5. Conclusion
Professional visualization relies on understanding 3D modeling textures and materials, as textures add surface detail and materials control light interaction. With this article, architects can now confidently differentiate between 3D textures and materials, helping them to achieve better results in their 3D projects. 3DMaxter provides high-quality interior, exterior and architectural models in 3ds Max, .obj and .fbx formats with clear pricing and satisfaction guarantees. Designers can quickly integrate these assets to enhance realism, improve rendering quality and streamline their architectural visualization projects.
3DMAXTER LTD
- Email: [email protected]
- Phone: +1 (929) 450-2898
- Address: 95-38 Queens Blvd, Rego Park, NY 11374, USA
3DMAXTER
![]()
![]()
![]()
![]()
![]()
Related Posts
With their diverse designs, dome pendants not only provide functional illumination but also add a touch of personality and elegance to any room. Whatever your preferred style may be, there's a dome pendant to match every taste and complement any interior decor seamlessly.