No products in the cart.
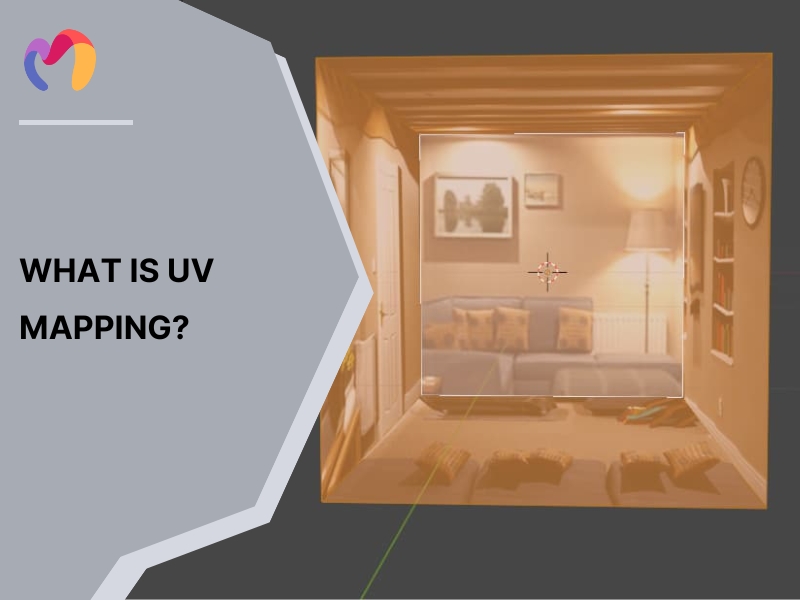
What is UV mapping? 3 Types of UV maps
Update: 29/10/2025
UV mapping is the process of projecting a 3D model’s surface onto a 2D image, allowing textures to align with its shape. By giving texture artists a flat layout to paint on, UV mapping makes materials fit geometry with accuracy, adding depth, realism and style to architectural, interior and exterior models. This article explains what is UV mapping, how UV mapping works, why it matters in design and how it fits into the creative workflow, helping architects and designers see how UVs shape the look of their projects and how effective mapping techniques improve visual quality while making better use of 3D resources.
1. What is UV mapping?
UV mapping is the process of projecting a 3D model’s surface onto a 2D image for texture application, allowing accurate control over how textures appear on the model. The letters “U” and “V” represent the horizontal and vertical axes of the 2D texture space, since “X,” “Y,” and “Z” are already assigned to the 3D model’s spatial dimensions. The letter “W” is reserved for quaternion rotations in graphics, so it is excluded from texture coordinate naming.
UV coordinates function as anchor points that connect specific pixels from the 2D texture image to defined vertices on the 3D mesh. This correspondence determines exactly how the texture wraps around each part of the object’s surface. UVs are necessary for designers to control how details like wood grain, tile or brick align on complex geometry.
UV mapping is essential in fields like game design, visual effects and product visualization. It allows for detailed surface characteristics, from realistic skin textures in character modeling to precise label placement in packaging design. Proper UV mapping prevents stretching, misalignment and inconsistencies, ensuring that textures display as intended across the 3D surface.
2. Why is UV mapping important?
Proper UV mapping is essential for professional 3D graphics. It ensures precise texture placement, efficient resource use and optimized rendering.
First, accurate UV unwrapping controls how textures wrap around 3D models. This prevents stretching and misalignment, ensuring that surface details appear exactly as intended. Whether for character skins, environment assets or product designs, UV mapping maintains visual accuracy.
Second, UV coordinates optimize texture resolution. A well-structured UV layout prioritizes detail where needed while minimizing wasted space. This improves texture quality, keeps file sizes manageable and speeds up rendering. Efficient UV mapping directly impacts performance in gaming, animation and real-time applications.
>> See more: What Is 3D Rendering? A Comprehensive Guide to Digital Image Creation
3. What are the types of UV maps?
There are 4 types of UV maps that artists use depending on the shape and surface of the model being textured:
- Spherical Maps: This type wraps a sphere around the model, which works well for curved objects like domes or ceiling lights. It reduces distortion on round surfaces but struggles with meshes that have protrusions.
- Cylindrical Maps: This method wraps a cylinder around the mesh, letting textures follow curved forms such as columns or pipes. It fits tube-like structures but can distort on sharp edges or hollow parts.
- Planar Maps: This approach projects UVs from one flat plane, making it quick for walls, ceilings and other large surfaces. It often causes overlaps on complex geometry that need manual fixes.
- Box Maps: This technique projects textures from six cube sides along the XYZ axes, covering all faces of a model at once. It speeds up texturing but offers less control and may cause seams on detailed shapes.
| Explore. Download. Create. Dive into our library of free 3D models now! | |||
 |  |  |  |
| Bathroom 3d model | Kitchen 3d model | Bed For Childroom 3d model | Sofa For Childroom 3d model |
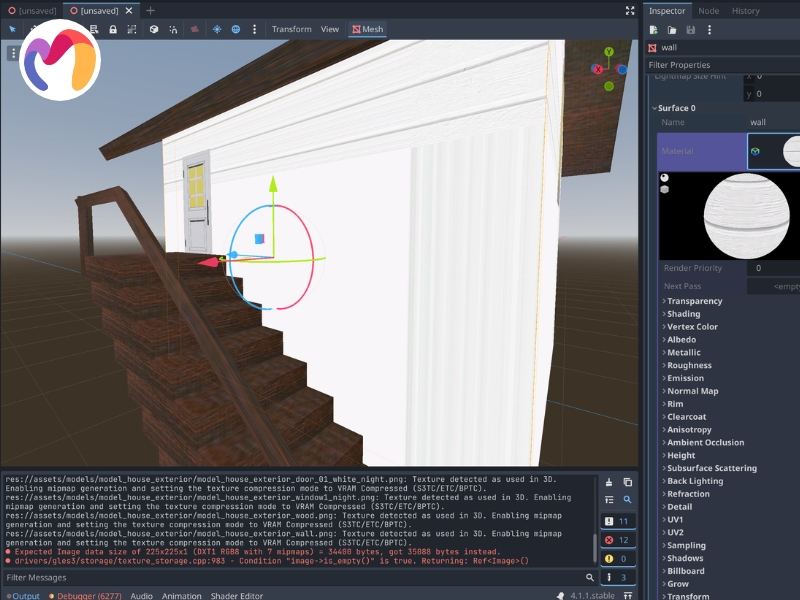
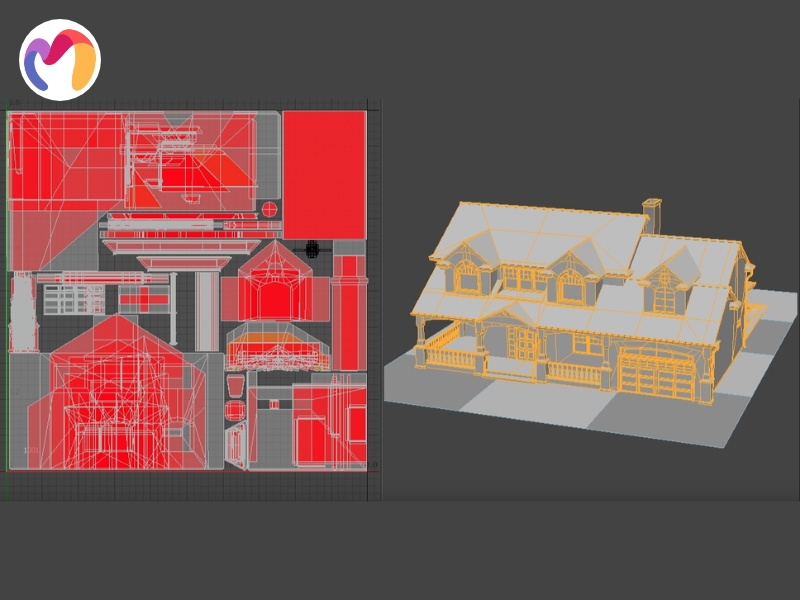
4. How does UV mapping work?
UV mapping works by translating the surface of a 3D model into a 2D coordinate system, allowing textures to be applied with precision. Each 3D modeling application provides a dedicated UV editor, which allows artists to unfold and adjust the UV layout of a model. Every polygon or face on the 3D surface corresponds directly to a face on the 2D UV map, forming the basis for how textures align. UV mapping plays a central role in applying accurate surface details, making texture placement both consistent and controllable.
UV creation relies on projection techniques, which function similarly to how a projector casts images onto a screen. These techniques include planar, cylindrical and spherical projections-each offering a geometric template for wrapping textures around a model. Projection types serve as starting points that artists refine further inside the UV editor to achieve clean, distortion-free layouts.
5. What is the process of UV mapping?
The process of UV mapping follows eight clear steps that guide a model from preparation to final texture application and each stage builds on the previous one to create clean, accurate surfaces for design work.
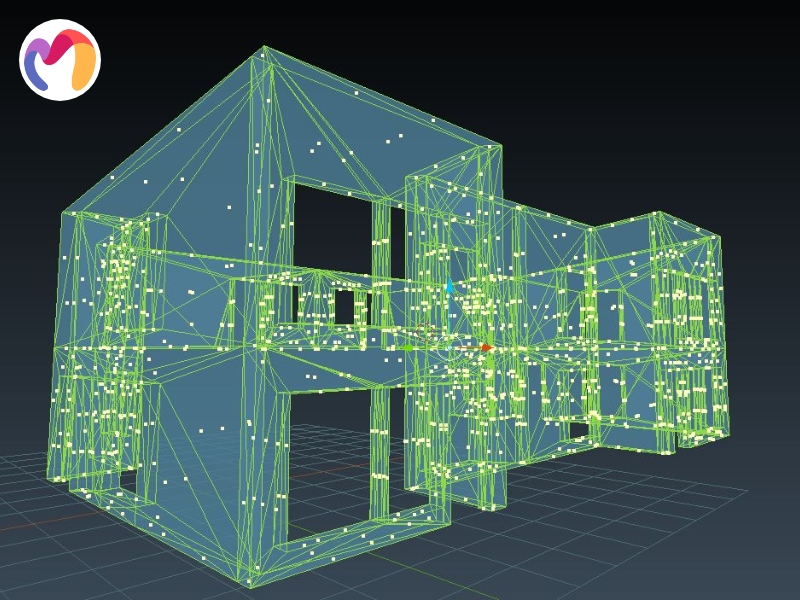
- Step 1 – Mesh Preparation: Mesh preparation begins by finalizing the geometry in your 3D software and entering UV editing mode. Artists select the whole mesh or chosen faces to unwrap, which creates a solid base for seam creation and flattening.
- Step 2 – Seam Marking: Seam marking involves selecting edges on the model that will serve as cutting lines. Artists place seams in logical or hidden spots, like under joints or along edges, so that textures fit smoothly with less visible distortion.
- Step 3 – UV Unwrapping: UV unwrapping uses the marked seams to flatten the 3D surface into 2D islands. The software splits the mesh along seams and good placement reduces stretching, giving cleaner results that are easier to adjust later.
- Step 4 – UV Editing and Optimization: UV editing flattens the geometry into islands and lets artists check for errors. Adjusting overlaps, straightening edges and fixing stretching in this step makes the final layout clearer and more reliable for textures.
- Step 5 – UV Island Layout and Packing: UV island layout arranges and scales flattened sections in the editor. Artists align shapes, balance texel density and reduce overlaps, which creates a consistent surface and supports high-quality textures across the whole model.
- Step 6 – Extracting to Image: Extraction converts the arranged UVs into a 2D image template. Packing the islands tightly within the 0-1 UV space saves memory, gives higher resolution to key parts and organizes surfaces for efficient texture work.
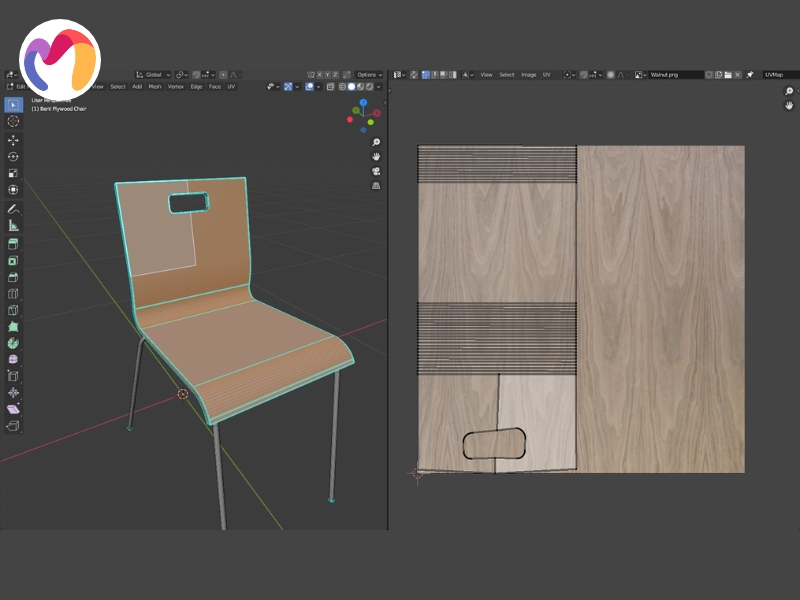
- Step 7 – Texture Creation: Texture creation begins by exporting the UV layout and using it as a guide in painting tools. The template directs where details, colors and patterns go, which guarantees accurate alignment once textures return to the 3D model.
- Step 8 – Texture Application and Testing: Texture application imports the painted image back into the 3D program. Artists test the result directly on the model, refine seams or density if needed and confirm that patterns, colors and details display correctly.
6. Conclusion
This article explains the question “what is UV mapping” by showing each stage: mesh prep, seams, UV islands, layout and texturing, so readers see how flat images can wrap 3D models in a natural way. With this knowledge, designers avoid stretched textures, sharpen surfaces and get stronger results in interior or exterior renders. To support these workflows, 3DMaxter offers a wide set of ready-to-use 3D assets in .max, .obj and .fbx formats that work with most design software. Free and premium downloads are available, letting architects and artists bring texture-ready models straight into their projects.
3DMAXTER LTD
- Email: [email protected]
- Phone: +1 (929) 450-2898
- Address: 95-38 Queens Blvd, Rego Park, NY 11374, USA
3DMAXTER


Related Posts
With their diverse designs, dome pendants not only provide functional illumination but also add a touch of personality and elegance to any room. Whatever your preferred style may be, there's a dome pendant to match every taste and complement any interior decor seamlessly.